Register an account | Forget the password
Become our member and enjoy discounts on purchases in this mall
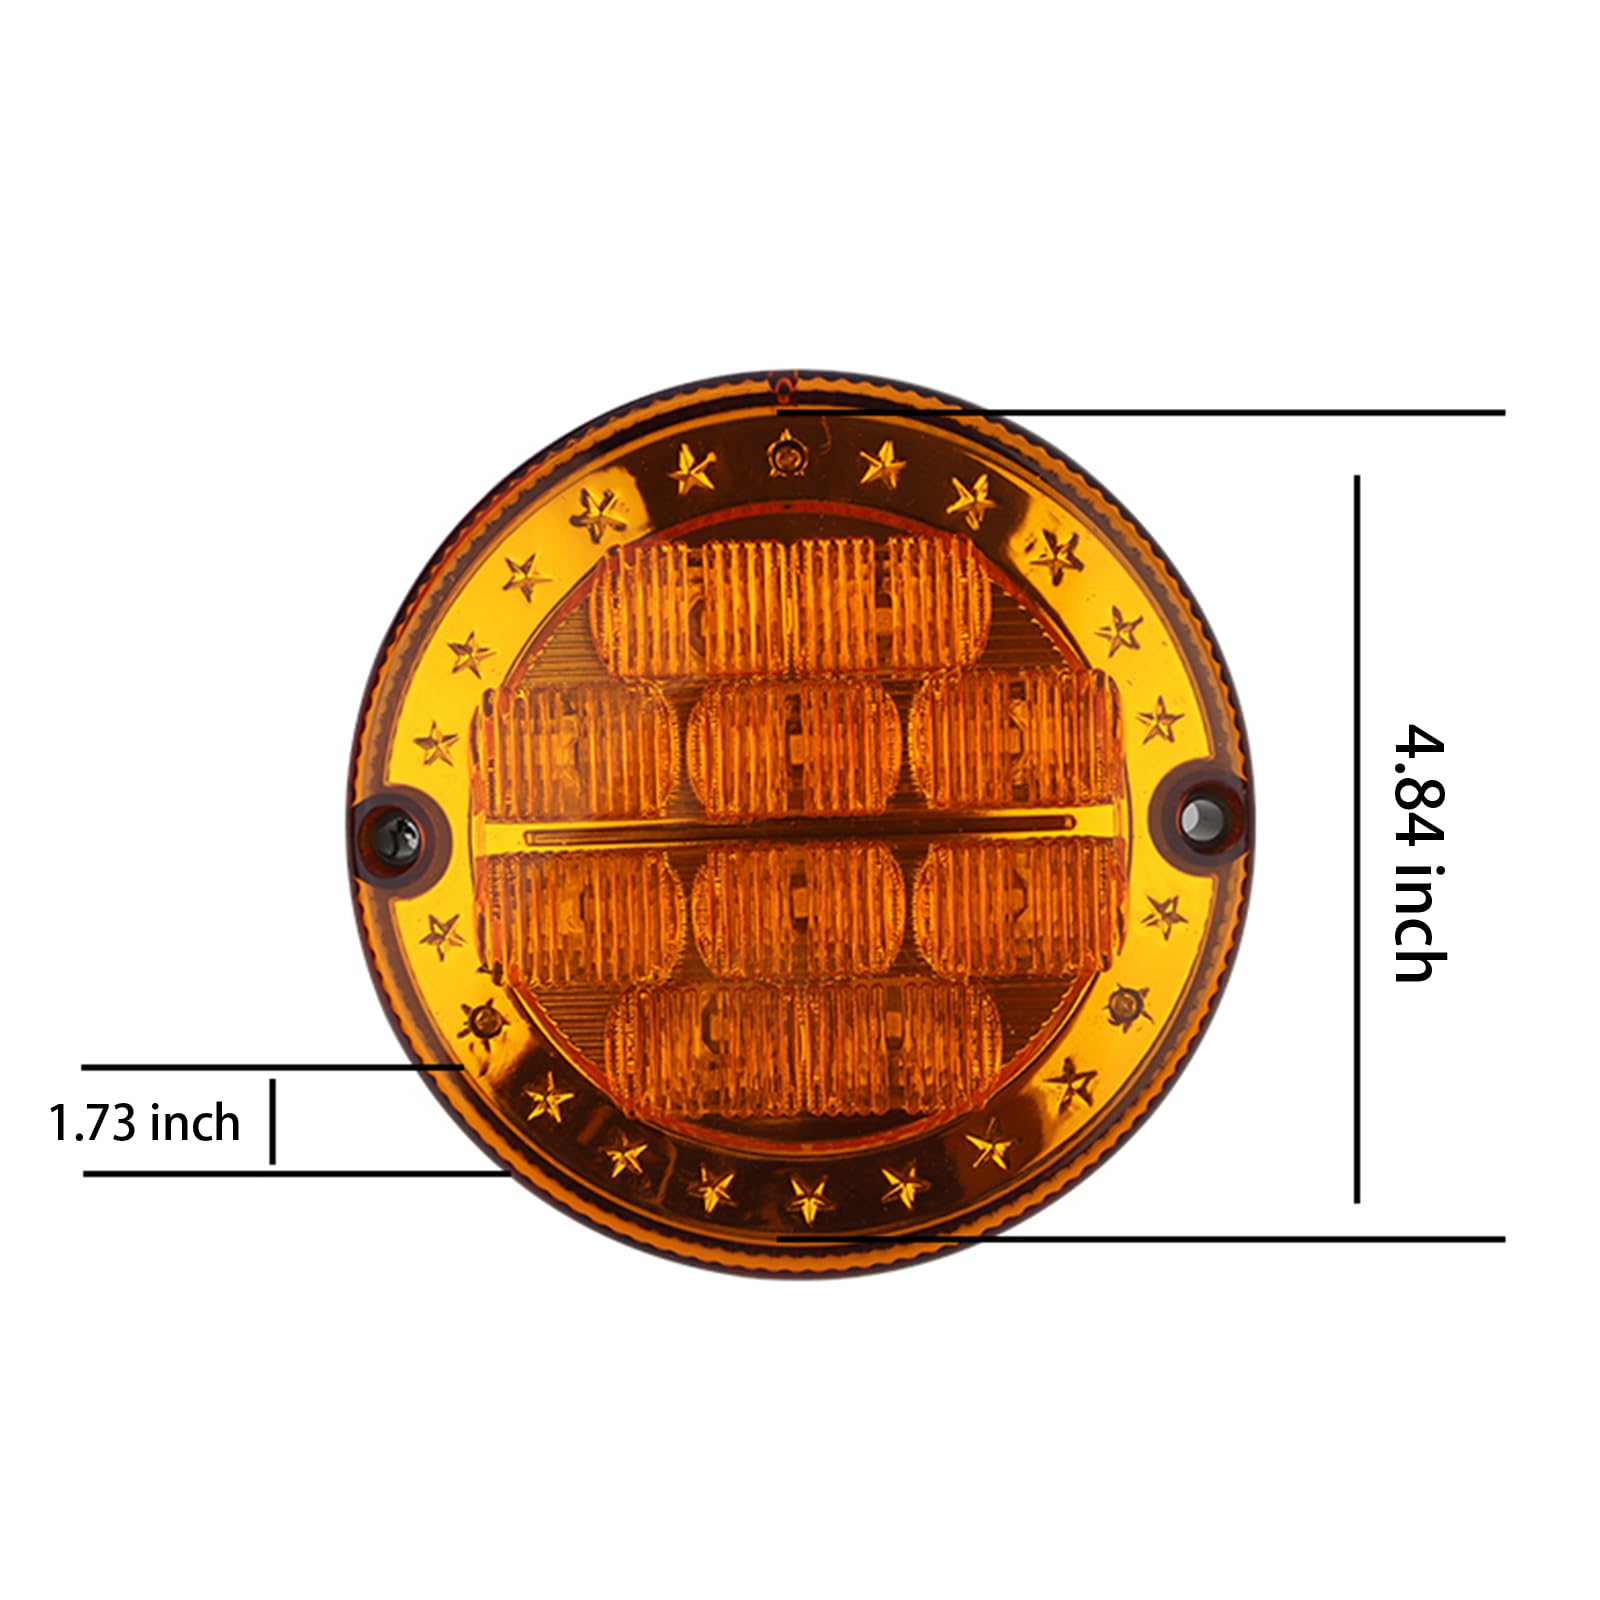
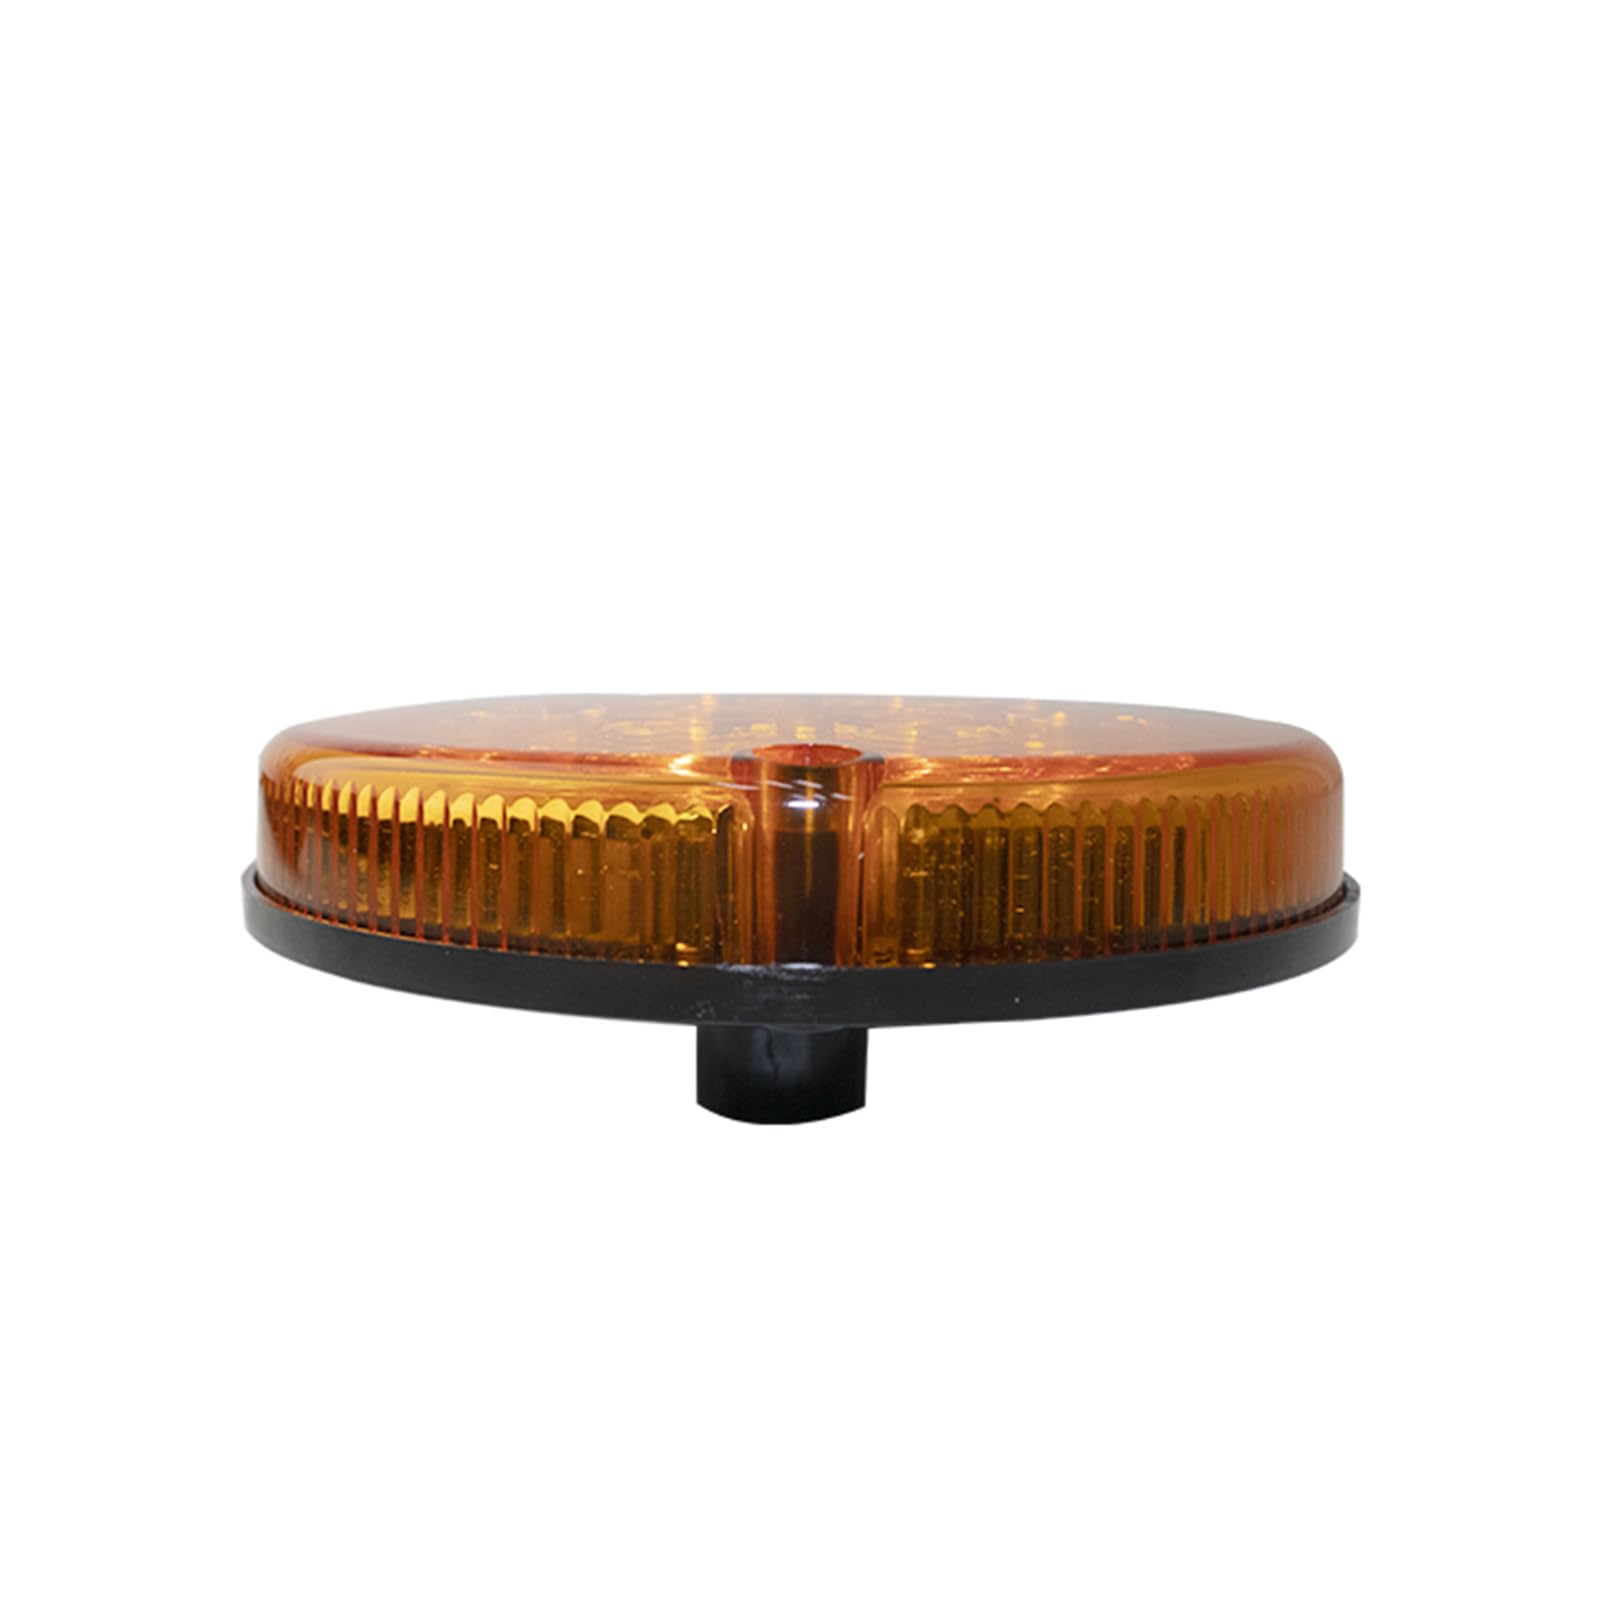
If you own a trailer, it is crucial to have operational lights for safety purposes. Installing a trailer light kit allows you to ensure that your trailer is visible to other motorists, especially in low-light or nighttime conditions. This step-by-step guide will walk you through the process of installing a trailer light kit, ensuring that you have a well-lit and secure trailer for all your journeys.
Before starting the installation process, gather all the tools and equipment required to complete the task. This will save you time and ensure that you have everything needed at hand. Typically, you will need:
Having these tools ready will make the installation process smooth and efficient.
Prior to installing the light kit, inspect your trailer and ensure that it is clean, dry, and free from any damage. Look for any existing wiring or lights that may need to be replaced. Remove any old or non-functioning lights, if present. Prepare the surface by removing any dirt or rust that may hinder proper installation.

Now it's time to mount the lights on your trailer. Carefully read the instructions provided with the light kit to understand the specific mounting requirements for your particular lights. Generally, most lights are secured with screws or bolts provided with the kit. Use a drill or screwdriver to fasten the lights securely to the trailer surface.
Once the lights are mounted, you need to connect the wiring harness. Begin by identifying the wiring harness that matches the lights. Typically, color-coded wires are provided for easy identification. Strip the ends of the wires, exposing a small amount of bare wire. Connect the corresponding wires from the harness to the lights using wire connectors. Use electrical tape to secure the connections and protect them from moisture.
If your trailer does not have a pre-installed wiring system, you will need to create a pathway for the wiring. Ensure the wiring is tucked away securely and does not hang low, posing a risk of entanglement or damage.

After completing the connections, it is essential to test the lights before hitting the road. Connect your trailer to a vehicle with a working electrical system. Turn on the running lights, brake lights, and turn signals to check if the lights on the trailer are functioning as intended. Ensure all lights are bright, visible, and in sync with the vehicle's lights.
Your trailer light installation is now complete, and you can confidently embark on your journeys knowing that your trailer is well-equipped with functional and safe lights.
Installing a trailer light kit is a straightforward process that can greatly enhance the safety of your trailer. By following these step-by-step instructions, you can ensure that your trailer lights are properly installed, providing maximum visibility on the road. Remember to gather the necessary tools, inspect and prepare your trailer, mount the lights securely, connect the wiring harness, and thoroughly test the lights. With a properly installed trailer light kit, you can enjoy your travels with peace of mind, knowing that you are visible to others on the road.