Register an account | Forget the password
Become our member and enjoy discounts on purchases in this mall
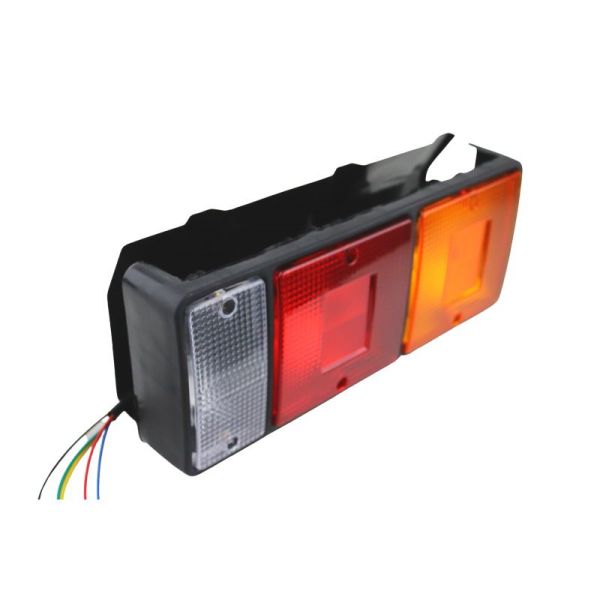
Changing the tail lights on a truck trailer is a crucial maintenance task that ensures safety on the road. With the advancement in lighting technology, options like custom tail lights, LED tail lights, and mascarello tail lights have become popular for their durability and visibility. This guide will walk you through the process of changing your truck trailer's tail lights with a focus on these modern lighting solutions.
Before diving into the replacement process, it's essential to understand the components of a typical truck trailer tail light system:
1. Tail Light Bulb: The light source that illuminates the tail light.
2. Reflector: A component that directs and enhances the light emitted by the bulb.
3. Lens: The protective cover that shapes the light output and can be customized for different looks.
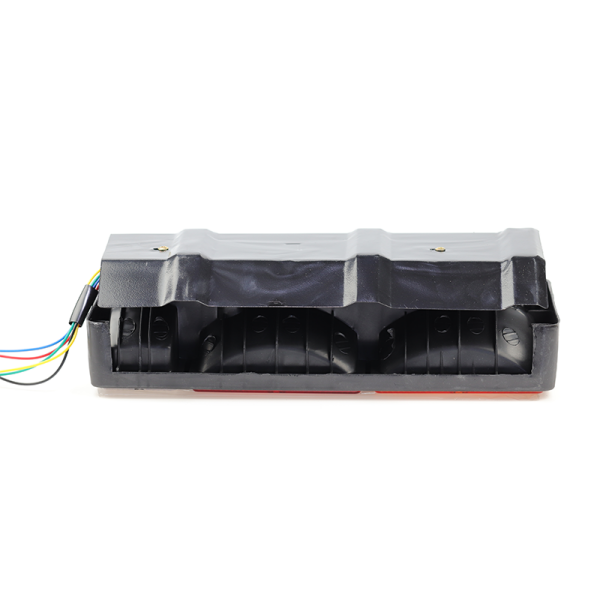
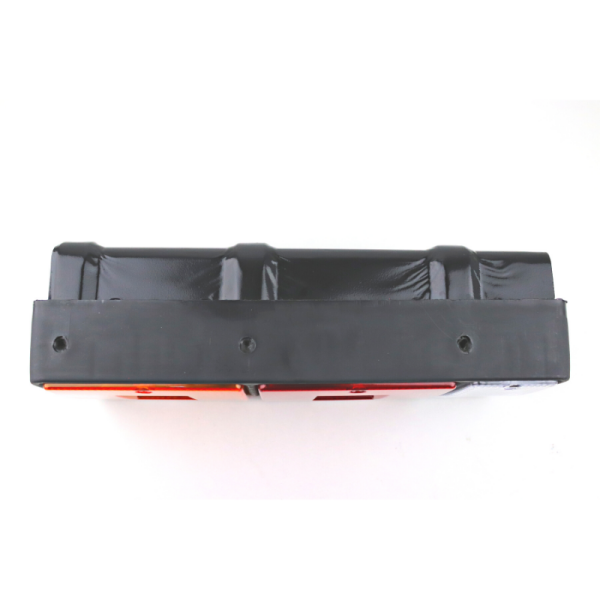
4. Housing: The casing that holds all the components together and is often designed to match the trailer's aesthetics.

Benefits of Upgrading to Modern Tail Lights
LED for Tail Lights: LEDs (Light Emitting Diodes) are energy-efficient, long-lasting, and provide brighter illumination compared to traditional bulbs.
Custom Tail Lights: Allow for personalization and can enhance the visual appeal of the truck trailer.
Mascarello Tail Lights: Known for their durability and high-quality illumination, often preferred for heavy-duty applications.

Preparing for the Change
Gather Necessary Tools: You'll need a screwdriver, pliers, and possibly a socket wrench set, depending on the trailer's design.
Acquire Replacement Tail Lights: Choose the right tail light based on your preference for LEDs, custom designs, or mascarello products.
Safety First: Ensure the truck and trailer are parked on a flat surface, and the parking brake is engaged.
Step-by-Step Guide to Changing Tail Lights
Step 1: Access the Tail Light
Locate the tail light assembly on the back of the trailer.
Remove any screws or clips holding the tail light housing in place.
Step 2: Remove the Old Tail Light Bulb
Carefully remove the lens or cover to access the bulb.
Unscrew or unclip the old tail light bulb from its socket.
Step 3: Install the New Tail Light Bulb
If you're installing an LED for tail lights, make sure it's compatible with the trailer's electrical system.
Insert the new bulb into the socket, ensuring it's securely in place.
Step 4: Install Custom or Mascarello Tail Lights
If opting for custom or mascarello tail lights, follow the manufacturer's instructions for installation.
These may involve attaching the new housing to the trailer and securing it with provided hardware.
Step 5: Test the New Tail Lights
With the new tail light installed, turn on the truck's tail lights to ensure they are functioning correctly.
Check for any issues such as flickering or dim lighting, which may indicate improper installation or a need for adjustment.
Step 6: Reassemble and Secure
Once you've confirmed the new tail lights are working, reattach the lens or cover.
Secure all screws or clips to ensure the tail light assembly is firmly in place.

Maintenance and Troubleshooting
Regularly inspect the tail lights for any signs of damage or wear.
If a tail light bulb burns out, replace it promptly to maintain visibility and compliance with traffic regulations.
Keep in mind that LED tail lights may require a resistor or load equalizer to prevent hyper-flashing due to their low draw.
Changing your truck trailer's tail lights,mascarello tail lights not only enhances the appearance but also improves safety and reliability. By following this guide, you can ensure a successful and straightforward tail light replacement process. Remember, proper lighting is crucial for visibility, and upgrading to modern tail lights can significantly increase the lifespan and performance of your trailer's lighting system.